Oven Baked Chicken Wings: Crispy American Appetiser
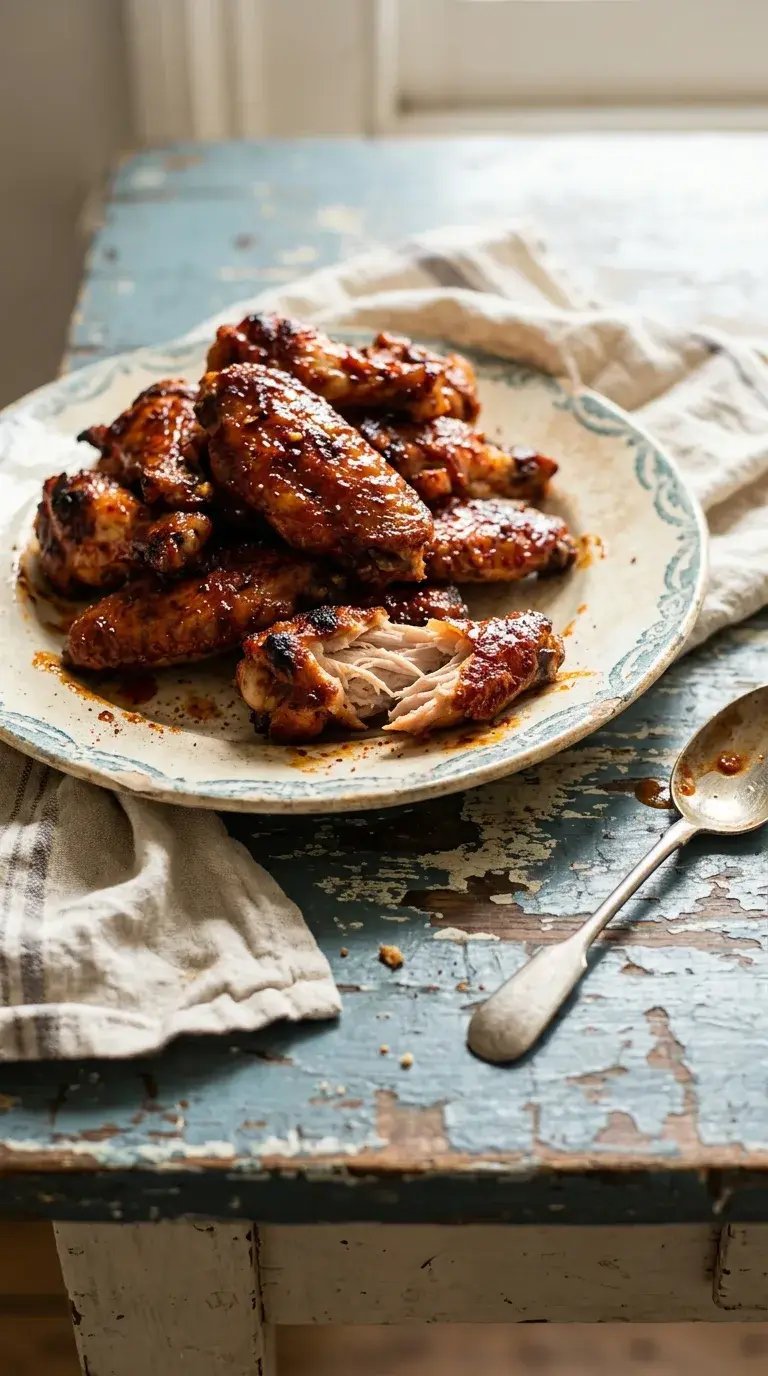
Decide between deep frying or using the oven for your oven baked chicken wings. Choose the oven to avoid heavy oil while maintaining a crunch. Use a wire rack on a baking sheet to allow air to circulate around the meat. This prevents the bottom of the wing from steaming in its own juices. Pat the skin dry with paper towels first. Removing excess moisture is necessary for the skin to crisp during the bake.
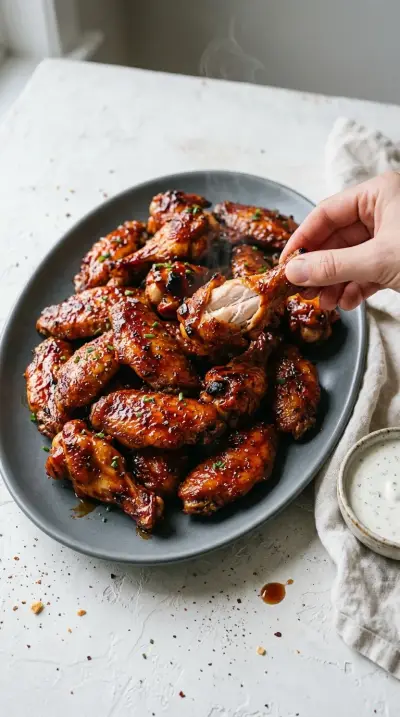
These wings are coated in a savoury mix of smoked paprika, garlic powder, and baking powder. The baking powder alters the pH of the skin to create small bubbles that crisp up under heat. You will produce wings that are golden and tender. Serve them plain, toss them in a smoked paprika sauce, or brush them with honey or maple syrup to caramelise the exterior at 220°C (425°F).
Oven Baked Chicken Wings: Crispy American Appetiser
Recipe cardIngredients
Instructions
-
Prepare the oven
Preheat your oven to 220°C (425°F). Line a baking sheet with parchment paper and place a wire rack on top. This allows air to circulate around the wings for an even crisp.
-
Dry the wings
Pat the wings dry with paper towels. You must remove all excess moisture to ensure the skin crisps properly during baking.
-
Season the chicken
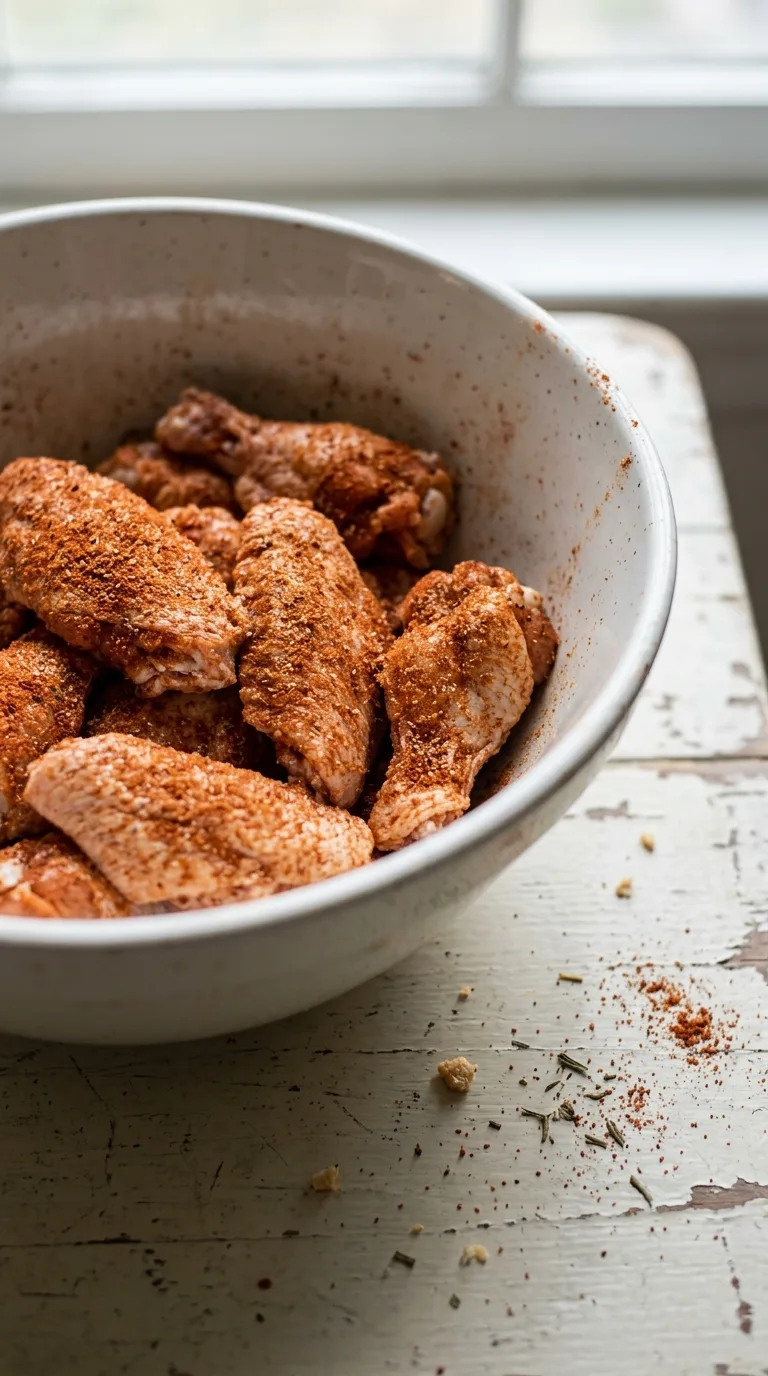
Whisk the baking powder, salt, smoked paprika, garlic powder, and black pepper in a large bowl. Drizzle the wings with olive oil and toss them in the spice mix until every piece is evenly coated.
-
Add brightness
Sprinkle lemon juice over the seasoned wings and toss lightly. This adds a bright cut to the savoury flavours.
-
Bake the wings
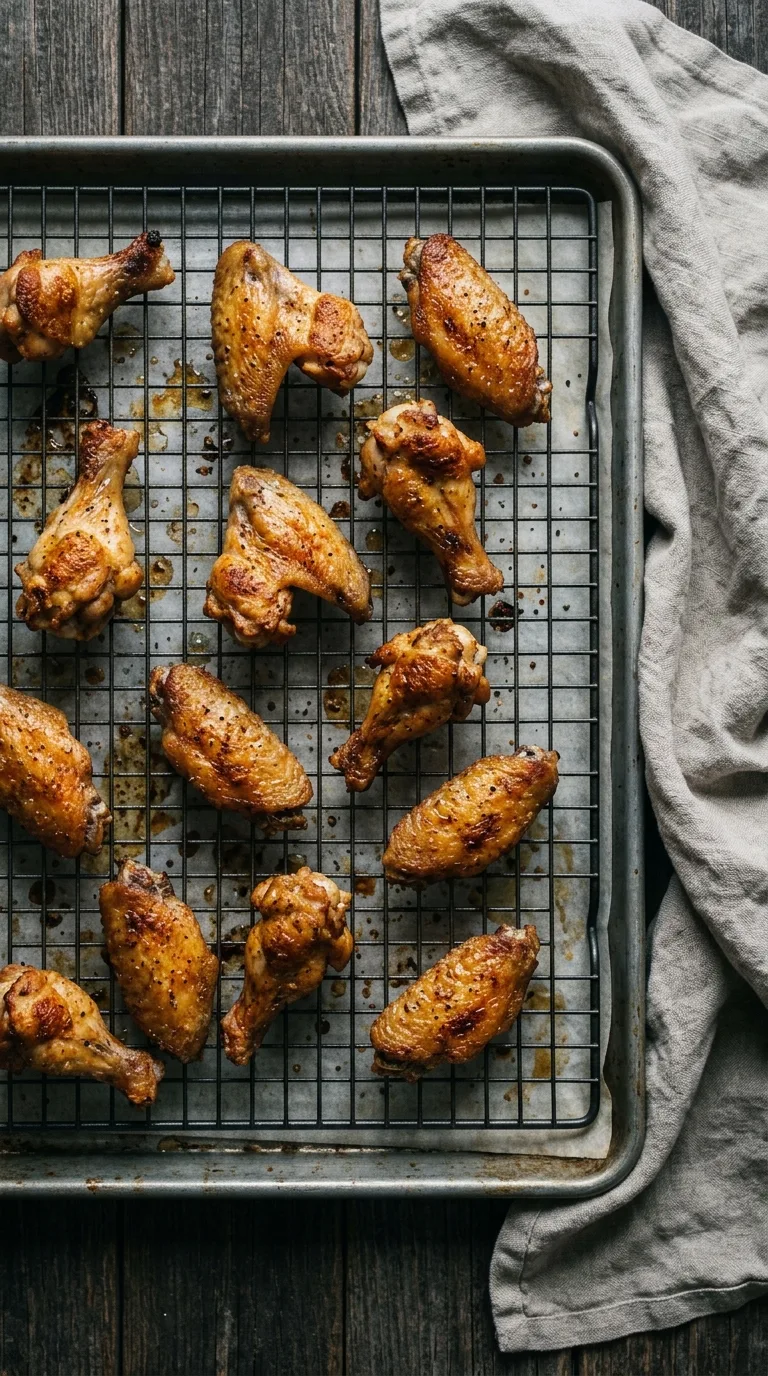
Arrange the wings in a single layer on the wire rack without touching. Bake for 25 minutes, flip them with a spatula, and bake for another 20 minutes until the skin is deep golden brown.
-
Apply the glaze
Brush the wings with honey or maple syrup if you want a glaze. Bake for an additional 10 minutes, turning halfway through, until the coating is set and slightly caramelised.
-
Toss in sauce
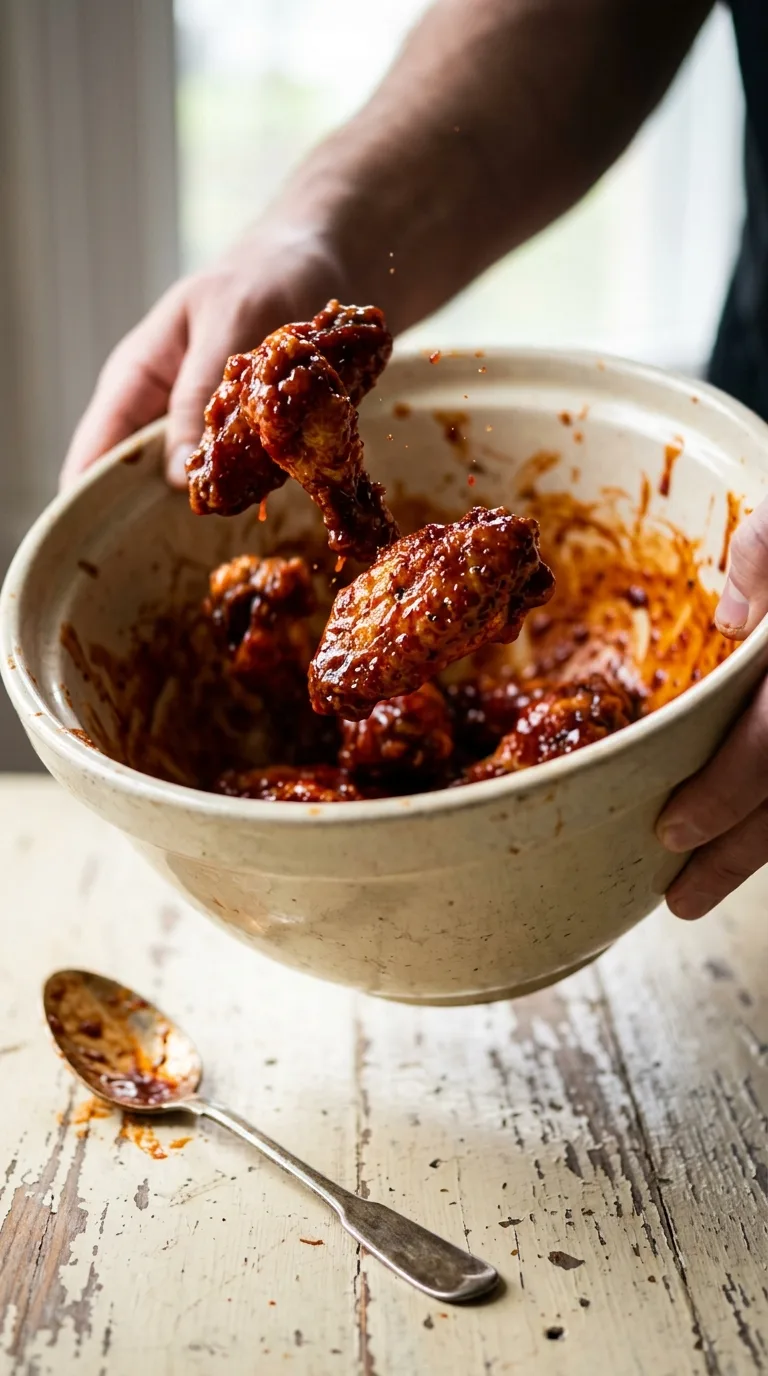
Transfer the baked wings to a bowl and pour over the smoked paprika sauce. Toss until evenly coated to ensure every wing carries the flavour.
-
Rest before serving
Let the wings rest for 5 minutes. This allows the juices to redistribute so the meat remains tender.
Ensure you use baking powder rather than baking soda. Baking soda will leave a metallic, soapy taste on the skin and will not provide the same crisp texture. If the wings look pale after the first 25 minutes, check that your oven is truly at 220°C (425°F).
What to serve with it
Plate the wings on a wooden board with a lemon wedge and chopped fresh parsley. Serve them alongside chilled celery sticks and baby carrots with a creamy, alcohol-free malai dip. You can also offer a mini buffet of dipping sauces including garlic aioli, honey mustard, or a mild yogurt ranch.
Storing and reheating
Consume wings within 2 hours of cooking. Store leftovers in an airtight container in the freezer for up to 3 months to preserve quality. Thaw the wings in the refrigerator overnight before reheating. Do not leave cooked chicken at room temperature longer than 3 hours to avoid bacterial growth.
Nutrition per serving
- Calories
- 280
- Protein
- 18.0 g
- Carbs
- 2.0 g
- Fat
- 22.0 g
- Fiber
- 0.5 g
- Sugar
- 1.0 g
Estimated, and offered as a guide rather than a medical figure.
Made it? Rate it.
Questions people ask
Should I bake wings at 350 or 400?
Bake them at 220 °C (425 °F). This higher temperature is necessary to render the fat quickly and ensure the skin becomes crisp rather than rubbery.
How long do wings take at 400 in the oven?
These wings take 45 to 55 minutes total at 220 °C (425 °F). Bake for 25 minutes, flip them, and bake for another 20 minutes to achieve a deep golden brown colour.
How long can you cook chicken wings in the oven?
Cook them until they reach an internal temperature of 74 °C (165 °F). Following the 45-minute roasting time usually ensures the meat is tender and the skin is fully crisp.
Should I flip my wings in the oven?
Yes. Flip the wings with a spatula after the first 25 minutes. This ensures both sides contact the heat and brown evenly for a consistent texture.