Home Composting: The Simple System That Doesn't Smell
A no-fuss guide to composting kitchen and yard waste at home — without the smells, pests, or mystery rules.

Home composting has a reputation for being either incomprehensibly complicated (carbon-to-nitrogen ratios, temperature curves, turning schedules) or guaranteed to attract rats. Neither is true if you set it up right. Here is the method that has worked reliably in my backyard for ten years.
Why bother composting
Roughly 30% of household waste by weight is food scraps and yard trimmings that turn into useful soil amendment instead of methane in a landfill. Finished compost is the single best thing you can add to any garden — it improves soil structure, water retention, and nutrient availability all at once.
The simple two-bin method
Two simple bins, each roughly a cubic yard: one active, one finishing. You add to the active bin until it is full (usually 4–6 months), then start filling the second bin while the first one finishes for another 4–6 months. No turning required, no thermometer needed. After about a year you have a steady supply of finished compost.
Green to brown ratio
Aim for roughly 3 parts "browns" (dry leaves, shredded cardboard, straw) to 1 part "greens" (kitchen scraps, grass clippings) by volume. The most common composting failure is too many greens, which is what causes smell. Keep a stockpile of dry leaves or shredded brown paper next to the bin and add a generous layer every time you dump kitchen scraps.
What not to compost
- Meat, fish, dairy (pests, smell)
- Cooked food with oil or fat
- Pet waste from carnivores
- Glossy/colored paper
- Diseased plant material
- Persistent weeds in seed (bindweed, crabgrass)
Troubleshooting smells and pests
- Ammonia smell: too many greens. Add browns and mix.
- Rotten smell: too wet. Add browns, leave the lid off in dry weather.
- Fruit flies: bury kitchen scraps under at least 4 inches of browns.
- Rodents: never add meat or dairy; use a closed bin with a base if needed.
- Nothing is happening: too dry or too cold. Sprinkle water, add fresh greens, and wait for warmer weather.
Choosing the right bin for your space
The "right" compost bin depends entirely on your space, not on what looks best online. A few honest matchups:
- Suburban backyard, 1/4 acre or more: two simple wooden or wire bins side by side. Cheap to build, infinitely scalable, no moving parts to break.
- Small backyard or side yard: a closed tumbler. More expensive ($150–250) and smaller capacity, but rodent-resistant and visually tidy. Plan on two tumblers eventually so you can finish one batch while filling another.
- Patio or balcony: a sealed bokashi bucket or a small worm bin. Both handle kitchen scraps without odor and produce a useful soil amendment for containers.
- No yard at all: a countertop collector for the freezer (yes, freeze your scraps — no smell, no flies) plus a municipal compost program or a community garden drop-off.
Speeding up your compost (when you want to)
Patience is the cheapest accelerator — almost any pile finishes within a year if left alone. But if you want compost faster, three levers do most of the work: chop larger items (a leaf or branch breaks down in roughly the time it takes water to penetrate it, so smaller pieces finish 3–5x faster), maintain even moisture (about the dampness of a wrung-out sponge — water lightly if dry, add browns if soggy), and turn the pile once every 2–3 weeks with a pitchfork or compost crank to reintroduce oxygen. With all three in place, a healthy pile finishes in 8–12 weeks during warm months.
Using finished compost in the garden
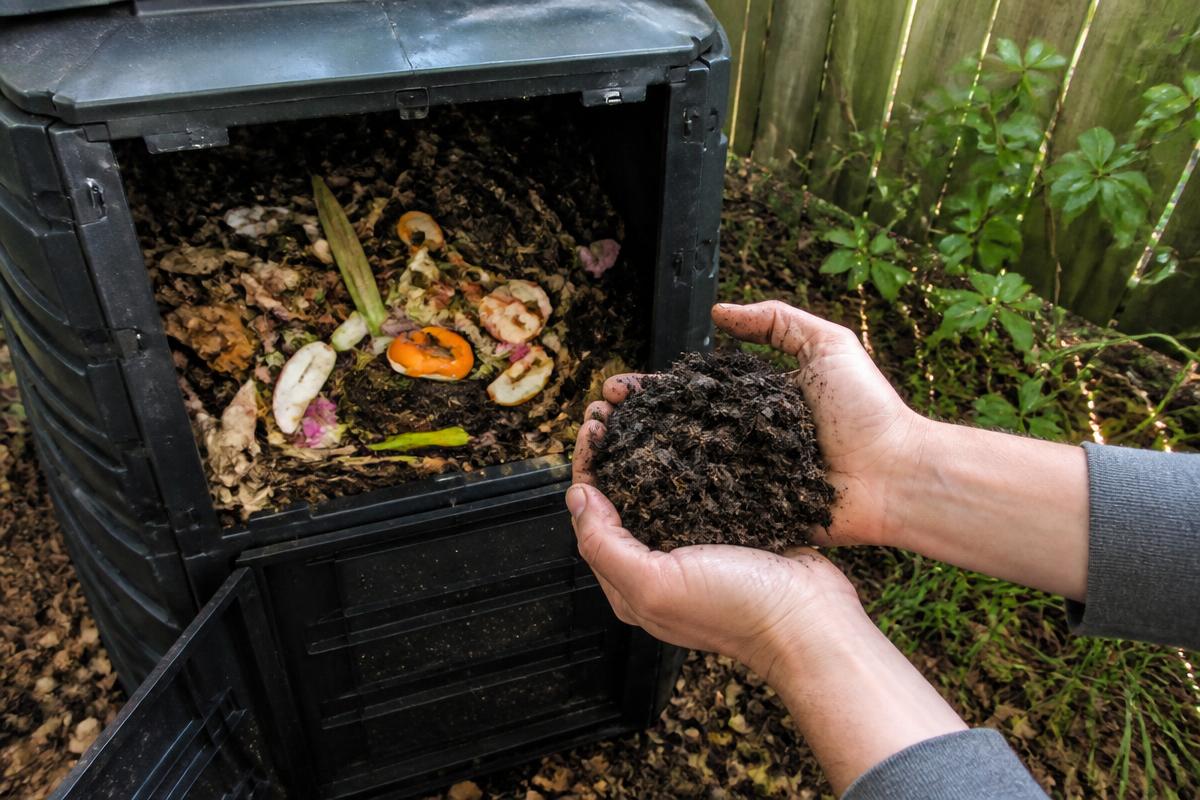
Finished compost should be dark, crumbly, and smell like a forest floor — not like the things you put in. Use it three ways:
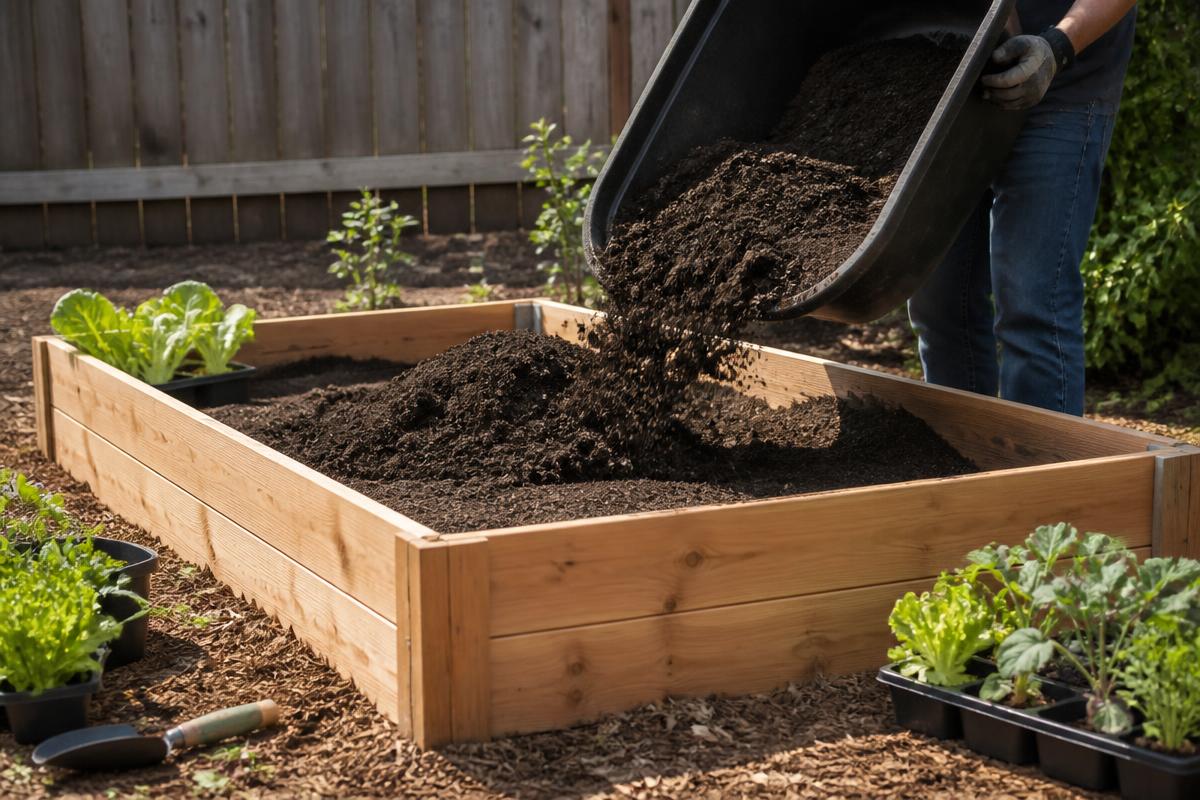
- Top-dressing: a 1–2 inch layer spread on the surface of beds in spring, lightly raked in.
- Side-dressing: a generous handful around heavy feeders (tomatoes, squash, brassicas) every 4–6 weeks during the growing season.
- Compost tea: a shovelful in a 5-gallon bucket of water, steeped 24 hours, then watered onto seedlings and containers. A free, gentle liquid feed.
Avoid burying unfinished compost directly in the root zone — it ties up nitrogen as it continues to break down and stunts young plants. If in doubt, let it sit another month.
Composting through winter
Cold slows microbial activity dramatically but does not stop it. Keep adding kitchen scraps all winter; the pile will simply hold them until spring temperatures bring the bin back to life. A few practical tips: keep a 5-gallon bucket of dry leaves or shredded paper next to the bin so you can layer browns over scraps even in the snow, and pile snow against the bin sides for insulation rather than shoveling it away. By the time forsythia blooms in spring the pile will be steaming again on its own.
Indoor and apartment composting in detail
Apartment composting has gotten dramatically easier in the past few years. Three systems work reliably: an electric countertop composter (around $300–500) that grinds and dehydrates scraps into a soil amendment in under a day with no smell; a sealed bokashi bucket ($40–80) that ferments scraps anaerobically — good for apartments that have access to a community garden where the fermented material can finish in soil; and a small worm bin ($60–150) that lives under a kitchen sink and produces small but excellent batches of worm castings from food scraps. Pick the one that matches your tolerance for upkeep — electric is the most hands-off, worms the most engaged, bokashi somewhere in between.
Composting rewards patience more than precision. The most common failure mode is overthinking it and quitting in month two; the second most common is doing nothing for fear of doing it wrong. Pick a method that fits your space, start adding scraps tomorrow, and let the pile teach you the rest. Within a year you will have finished compost, a meaningful drop in household waste, and a small ongoing connection to the soil cycle that food actually depends on.
Whatever method you choose, give the system three full months before judging it. Composting is biology on a slow clock, and the first batch always feels like nothing is happening right up until the moment it suddenly is.
Frequently asked questions
Frequently asked questions
- Do I need to turn my compost?
- No, if you have time. Unturned compost finishes in 9–12 months. Turning every few weeks shortens that to 3–4 months but is not required for the end result.
- Can I compost in an apartment?
- Yes, with a countertop bokashi system or a small worm bin (vermicompost). Both handle kitchen scraps without odor when set up correctly.